By Joe Terry
1. If the stays are attached to the mast, proceed to step 4. Place the forestay hound over the mast with the holes in alignment. Bolt the shroud tangs on top of the hound with the tang bolt and nylock nut. The nut should be barely snug and shall allow the tangs to move freely. The stays do not need to be removed for future trailering, just coil them up and tie or Velcro them to the mast.
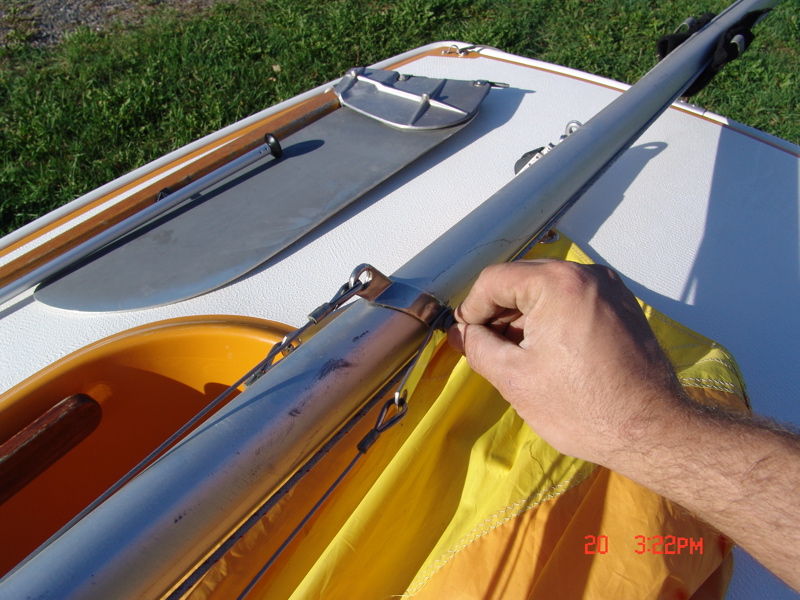
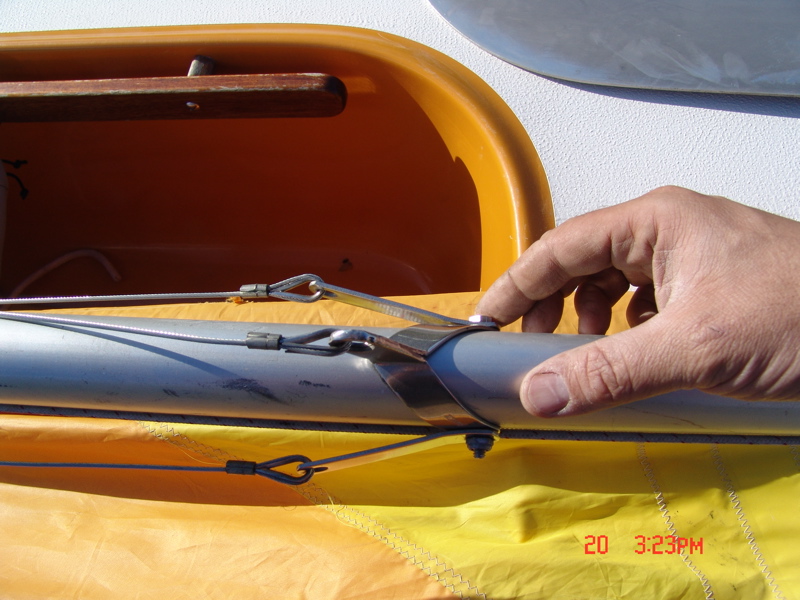
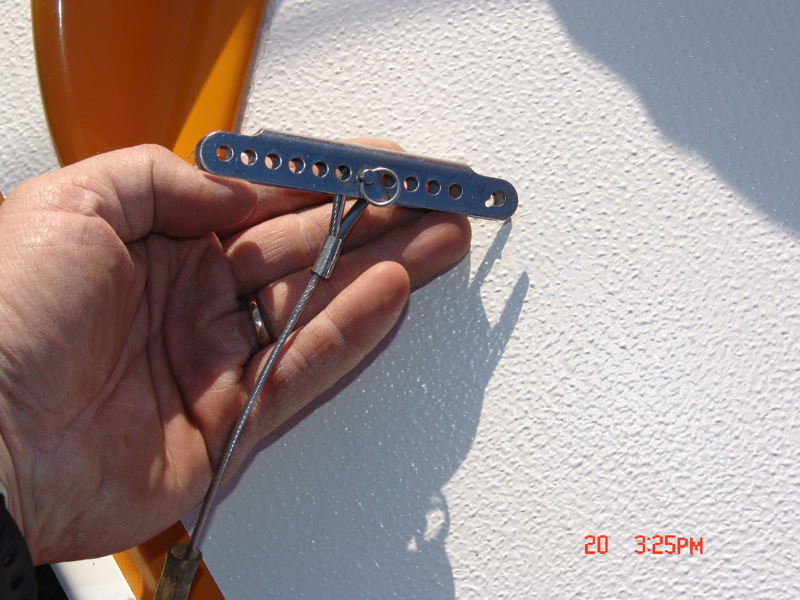
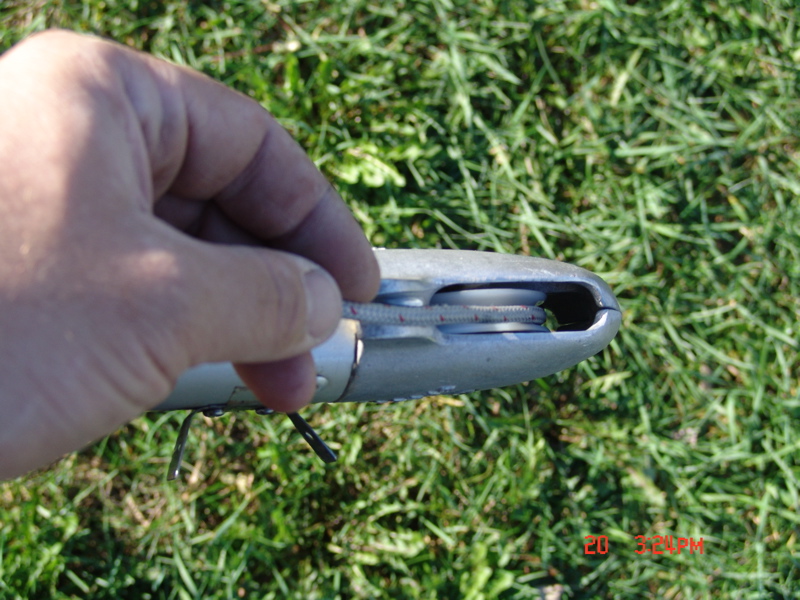
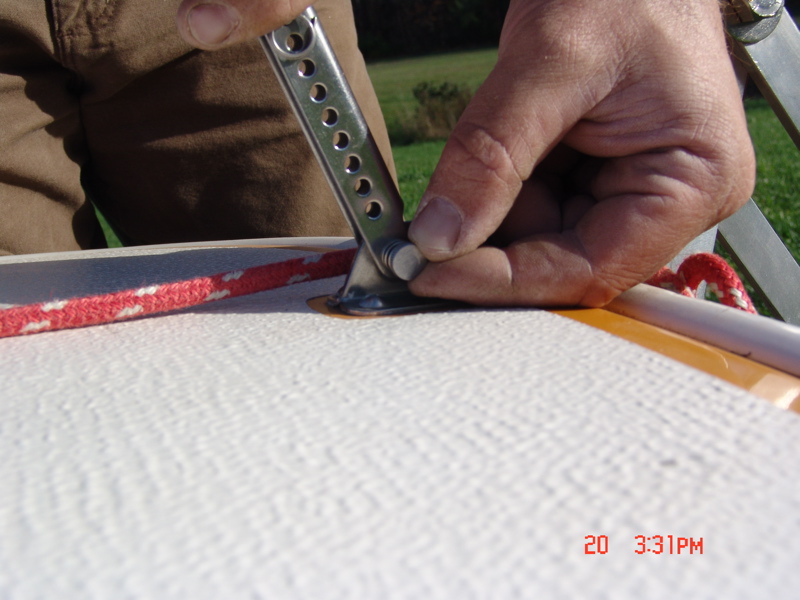
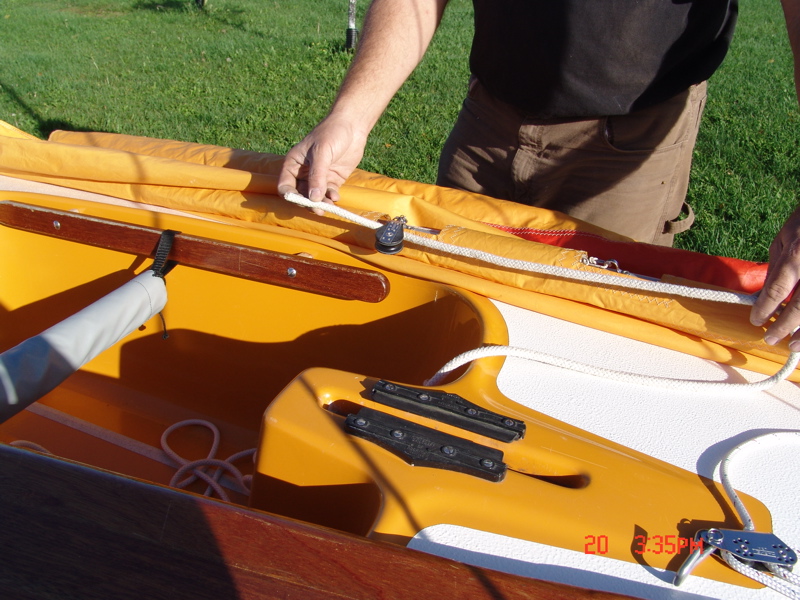
2. If the shroud adjusters are not attached to the shrouds, attach them now. Proper setup generally results from setting the pin two or three holes from the top. Once attached, they do not need to be removed.
An "old style" adjuster is shown in the photo. A "new style" adjuster has a pin captive to the adjuster. If you have an old style adjuster, a new style will work, but needs to be slightly modified. Call us for details.
An "old style" adjuster is shown in the photo. A "new style" adjuster has a pin captive to the adjuster. If you have an old style adjuster, a new style will work, but needs to be slightly modified. Call us for details.
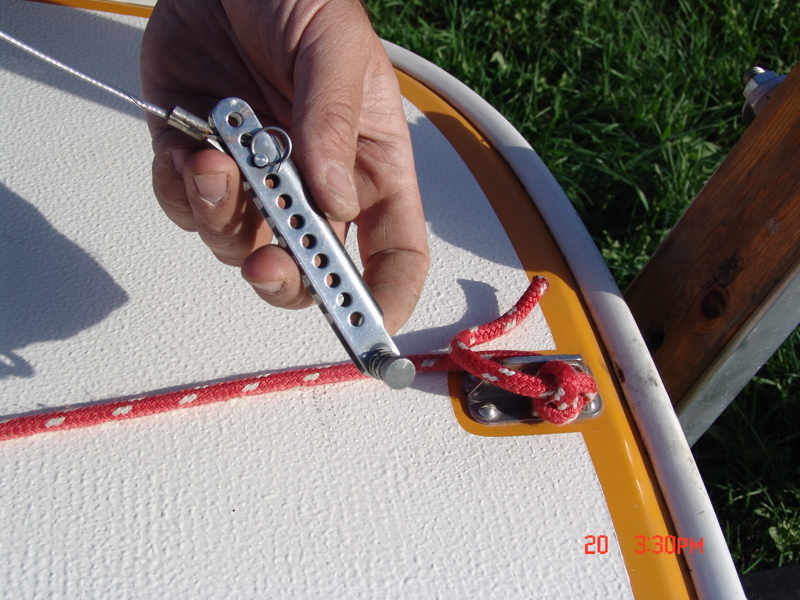
3. If the forestay adjuster is not attached to the forestay, attach it now. Start with the pin toward the top few holes - you can tighten it later as needed.
4. Rig the halyard (3/16" line) through the casting and over the sheave wheel on the masthead. Tie the ends together so that the halyard will not slip out when stepping (setting up) the mast.
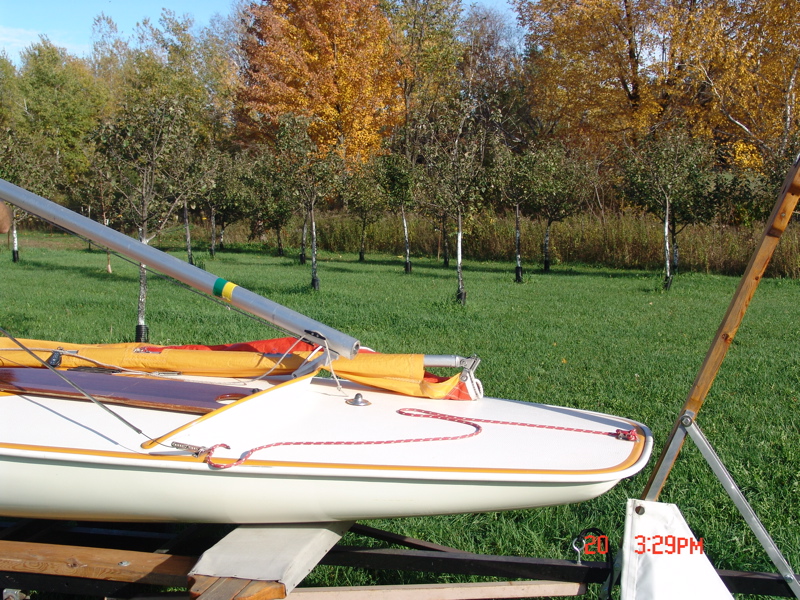
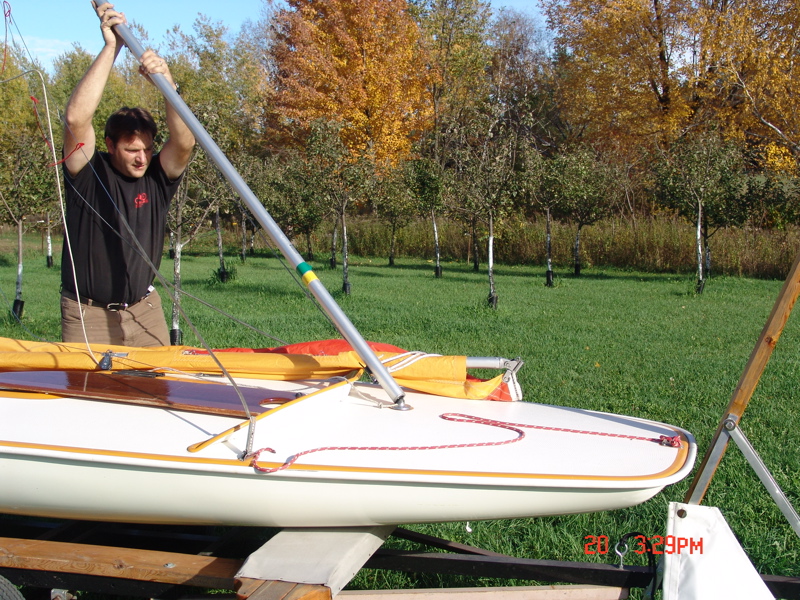
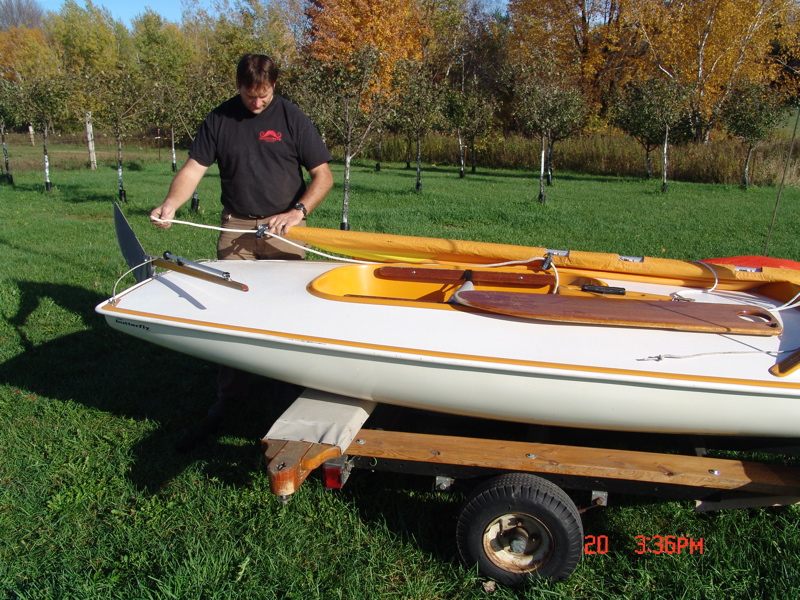
5. Step the mast. One person can easily step the mast on a Butterfly. If two people are available, have one person raise the mast while the other holds the base of the mast on the mast step. If one person is stepping the mast by themselves, it can be easier to step the mast if the boat is level from side to side, but the bow is lower than the stern.
Lay the mast the length of the deck with the top of the mast toward the stern. Attach the two side stays to the stay adjusters with the clevis pins and split rings included. Set mast on the mast step in the center of the deck and walk it up. If you have help, once the mast is up, have one person push slightly forward on the mast to make sure it stays standing until the forestay is attached. If you're doing it by yourself and if the bow is lower than the stern, gravity will help hold the mast forward.
Lay the mast the length of the deck with the top of the mast toward the stern. Attach the two side stays to the stay adjusters with the clevis pins and split rings included. Set mast on the mast step in the center of the deck and walk it up. If you have help, once the mast is up, have one person push slightly forward on the mast to make sure it stays standing until the forestay is attached. If you're doing it by yourself and if the bow is lower than the stern, gravity will help hold the mast forward.
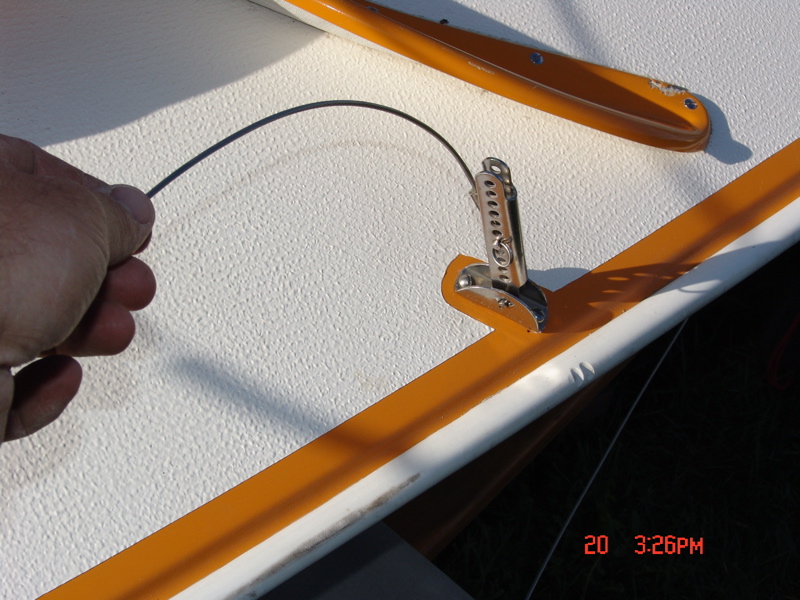
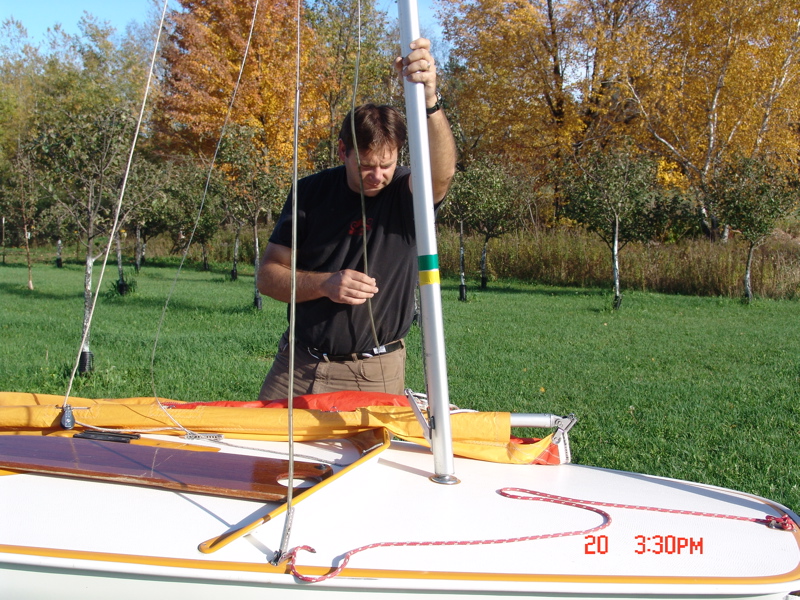
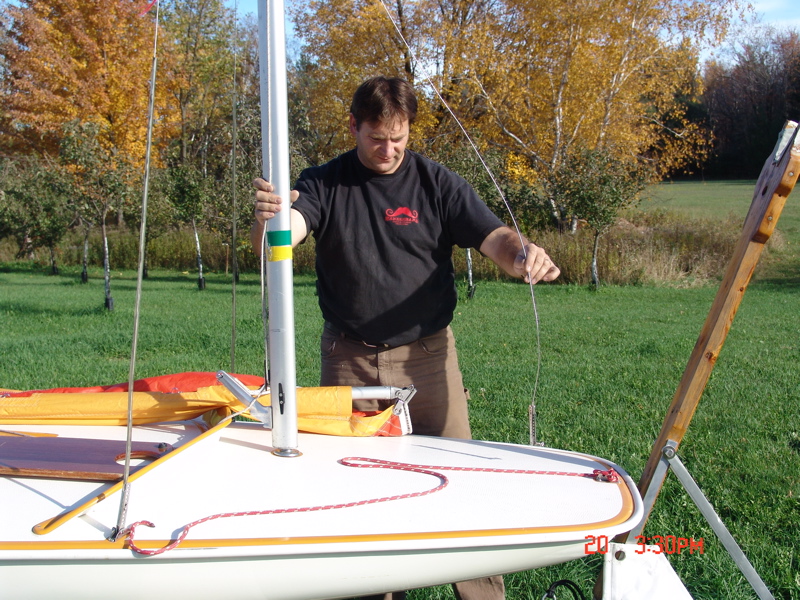
Attach the forestay to the rear (smaller) hole on the bowplate. Adjust the forestay tension at this point so that the stays are snug. The shroud tension is about right if you can rotate the mast 90 degrees, but no more. Readjust stays so that the mast is vertical or slightly raked back when the boat is level. Once the correct mast angle is determined the adjusters may be left on the stays and removed from the boat at the captive pins.
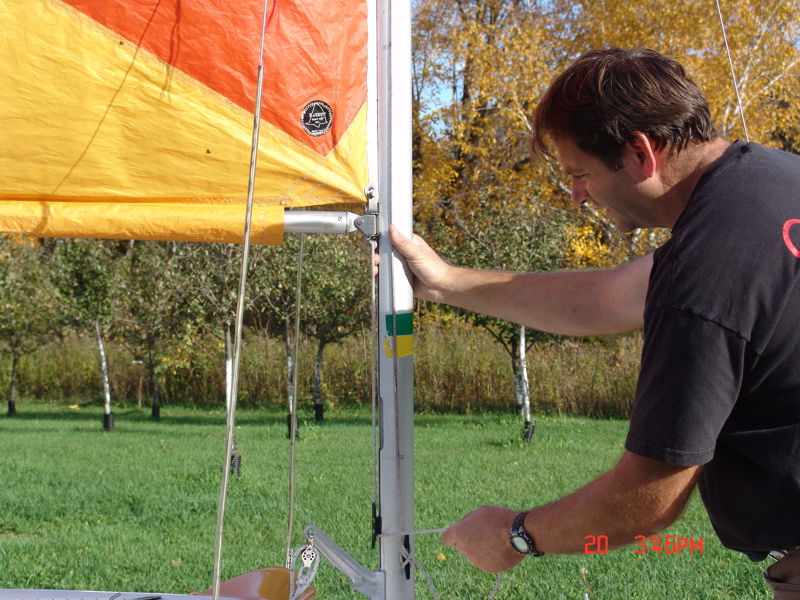
6. Slide the boom through the sleeve on the bottom edge of the sail. It is easiest to fold the gooseneck flat against the boom or remove it altogether. Slide the boom forward through the sleeve. Fasten the captive pin on the gooseneck through the grommet in the corner of the sail.
7. Attach the halyard to the sail using a bowline knot or a loop and stopper. Position the boat with the bow facing into the wind. Tie a simple over-hand knot in the halyard about 15 inches from the end. Tie the same end of the halyard to the head (top corner) of the sail about 6 inches from the end.
Leading the luff edge of the sail (the edge with the sewed in rope) into the mast slot, carefully raise the sail by guiding it into the slot.
Leading the luff edge of the sail (the edge with the sewed in rope) into the mast slot, carefully raise the sail by guiding it into the slot.
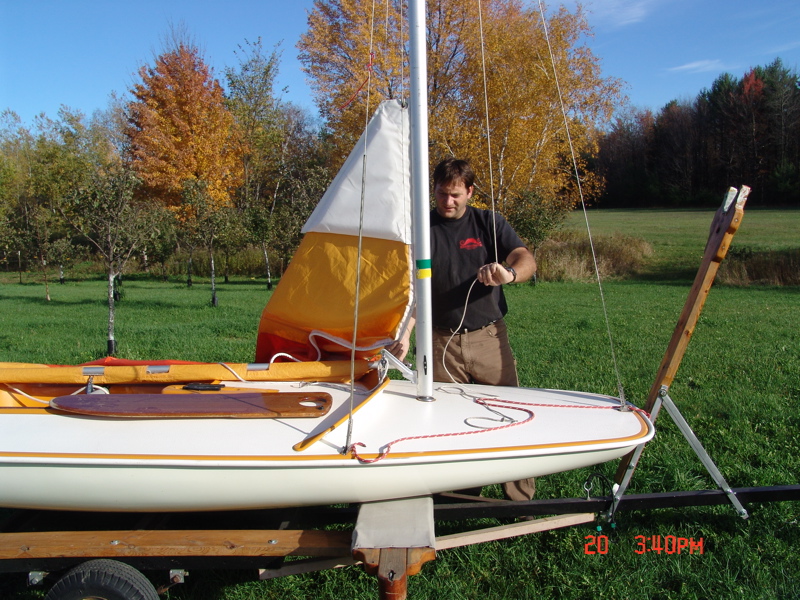
Insert the gooseneck slide into the same slot and raise sail to the masthead.

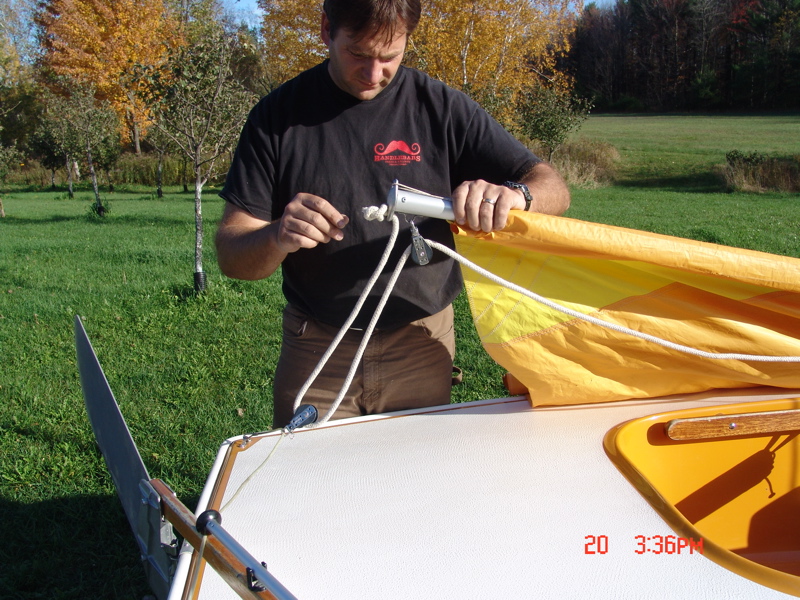
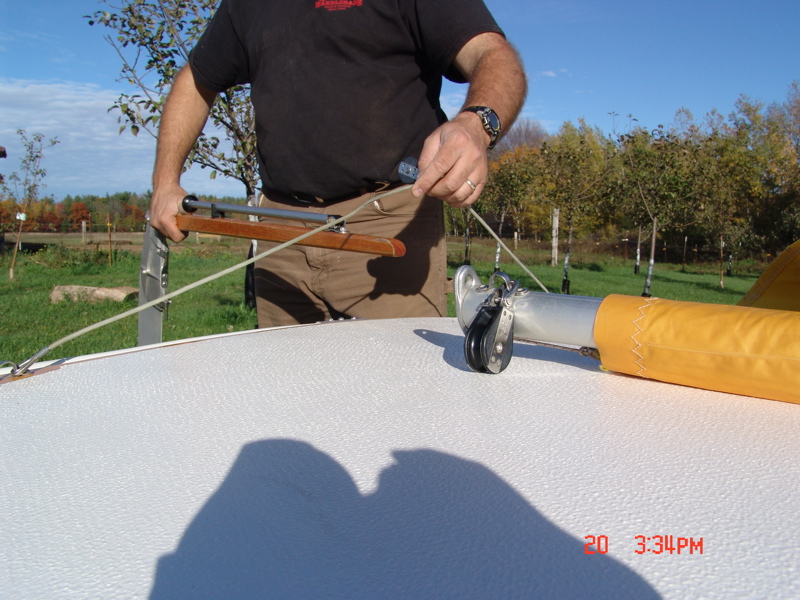
Guide the halyard through the lock on the forward edge of the masthead. By pulling sail down slightly the knot is locked in the jaws of the lock. (A mark can be made on the halyard so that the exact tying position can be easily determined.)
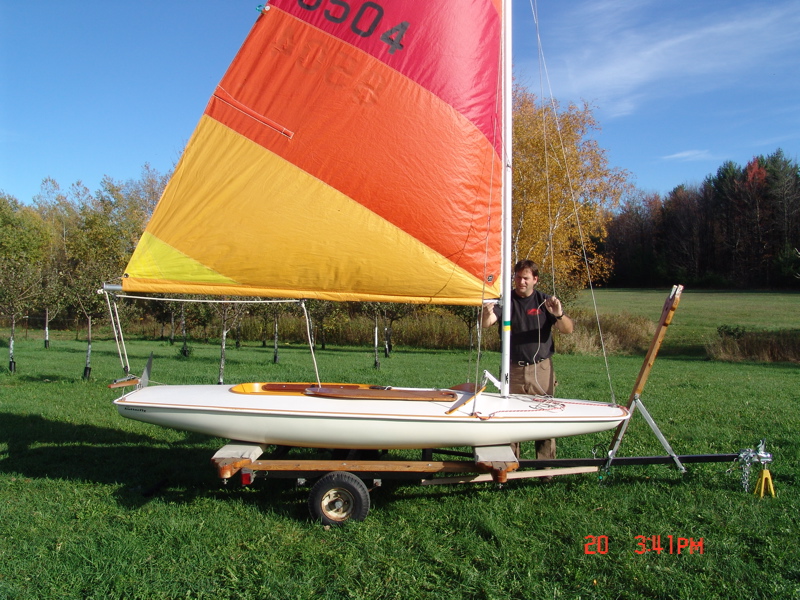
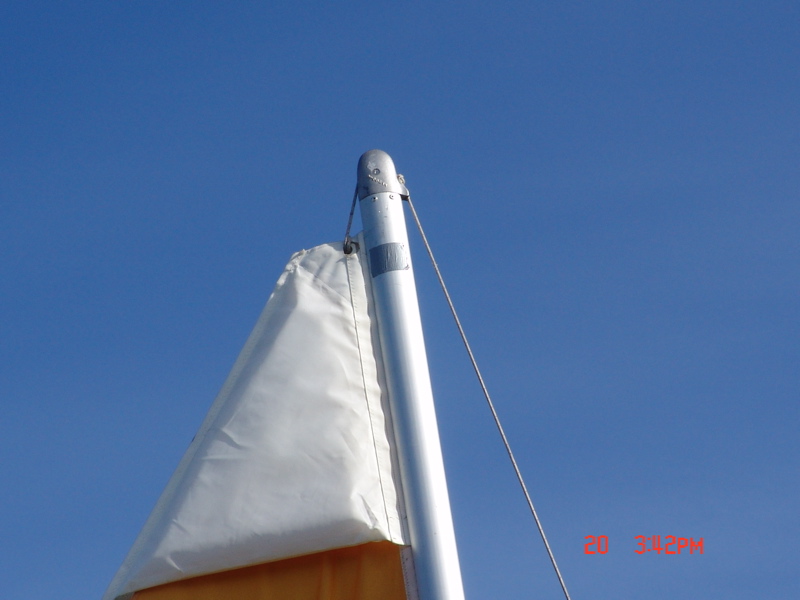
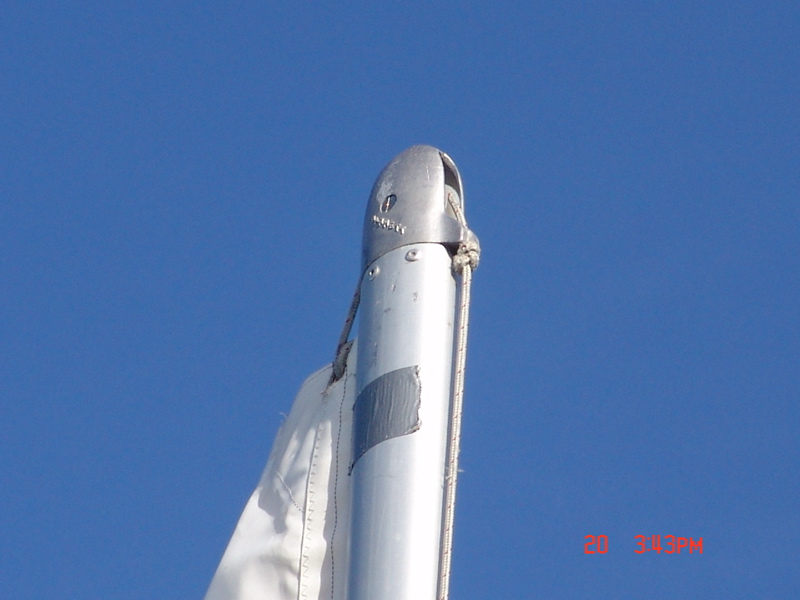
Secure the free end of the halyard to the cleat on the side of the mast. To release the halyard, simply pull the free end forward out of the lock.

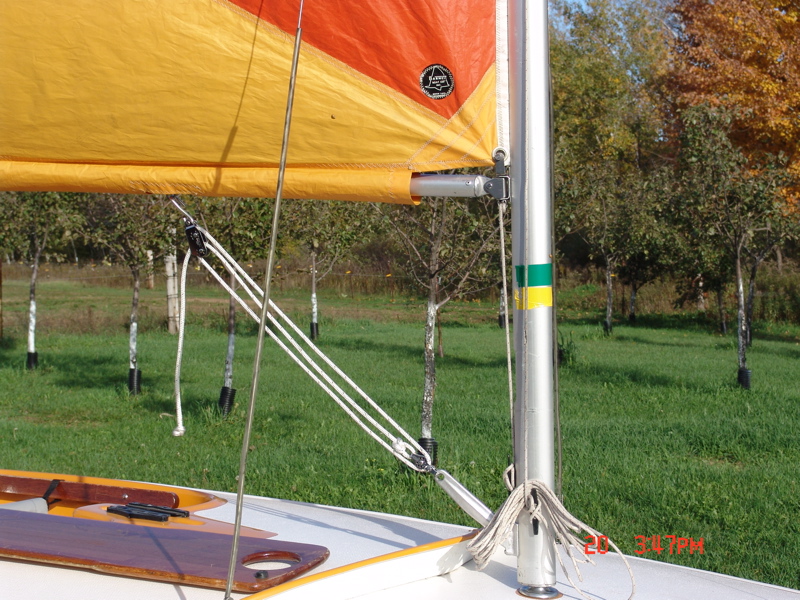
8. Attach the outhaul. One of the 3/16" x 40" lines is the outhaul. Tie the clew (aft corner) of the sail to the boom. Pull just tight enough to remove large wrinkles in sail. You will adjust the outhaul tighter for higher winds, looser for light air. If you have the adjustable outhaul with the cleat on the boom, run the outhaul line OUTSIDE of the sail sock.
Hint: if the outhaul is tight, the gooseneck will want to jam in the mast and make it difficult to get the sail raised that last 18" or so. If you have the adjustable outhaul, loosen it before raising or lowering the sail, and set it once the sail is raised.
Hint: if the outhaul is tight, the gooseneck will want to jam in the mast and make it difficult to get the sail raised that last 18" or so. If you have the adjustable outhaul, loosen it before raising or lowering the sail, and set it once the sail is raised.
9. Attach the downhaul. The other 3/16" line is the downhaul. Tie one end to the ring on the gooseneck. Pull line down to remove large wrinkles in sail and tie to cleat on aft edge of mast. Use more pressure for high winds and no tension for light air.
If you have a vang, attach it now. The photo shows the "standard" orientation of the vang; however, I prefer to flip it so it adjusts near the mast. I can tie the mainsheet to the vang sheet and either one is always accessible. In the "standard" configuration adjusting the vang with the boom out sailing downwind can be challenging.
If you have a vang, attach it now. The photo shows the "standard" orientation of the vang; however, I prefer to flip it so it adjusts near the mast. I can tie the mainsheet to the vang sheet and either one is always accessible. In the "standard" configuration adjusting the vang with the boom out sailing downwind can be challenging.
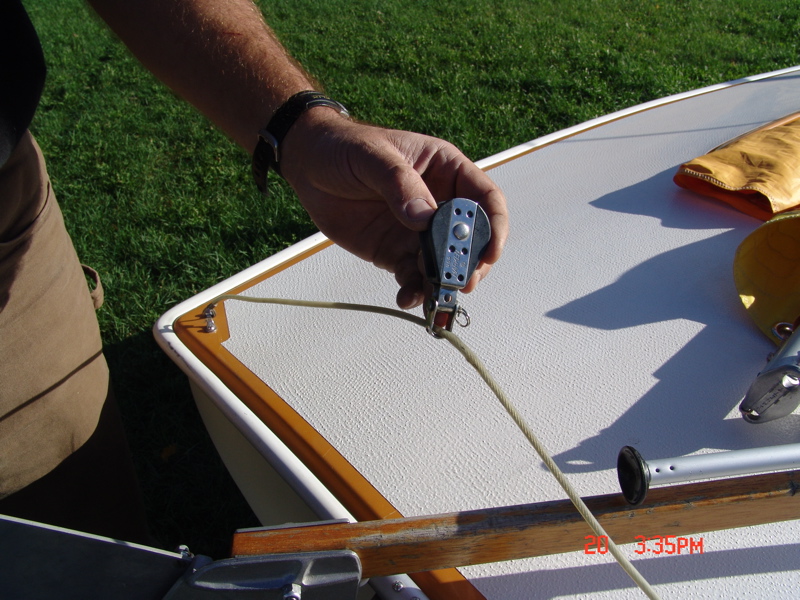
10. String the mainsheet. Attach the two blocks (pulleys) on the boom parallel to the boom - one in the middle, and one at the stern end. The shackle clevis pins should run through the holes in the block strap. Attach the block on the bridle with the shackle turned 90 degrees to the block so that the block is also parallel to the boom. The clevis pin should not go through the holes in the block, only through the strap. Feed the end of the mainsheet onto the boom end casting and tie a figure eight knot. Feed the line down through the bridle block, up and through the rear boom block, then through the mid boom block.

11. Attach the rudder. Make sure that the tiller goes under the bridle, then attach the rudder to the fittings (gudgeons) on the transom. Be sure that the safety spring on the rudder snaps past the fitting. (This is to prevent the rudder from coming off if the boat should capsize.)
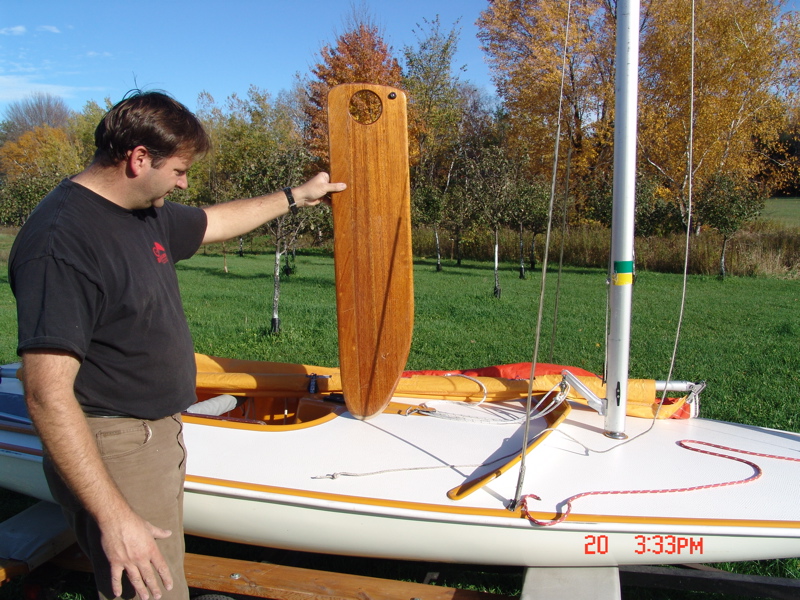
12. Insert the daggerboard. Dip the daggerboard into the water so that it slips through the snubber easily and then insert it through the slot with the rounded edge forward.
Time to go sailing!

Rigging Instructions
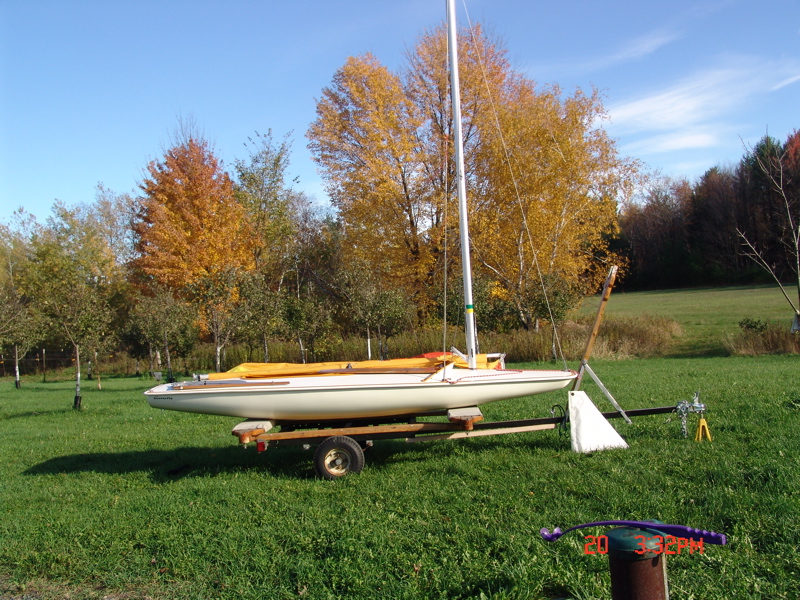
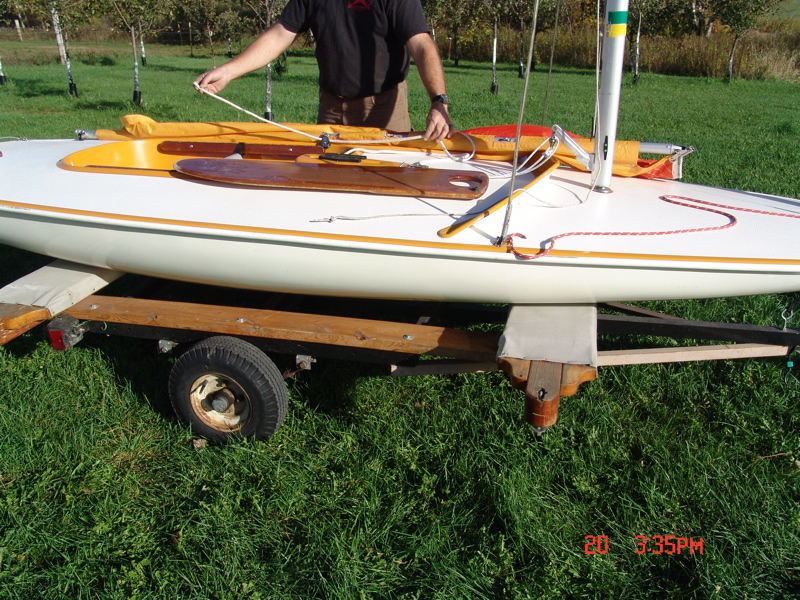
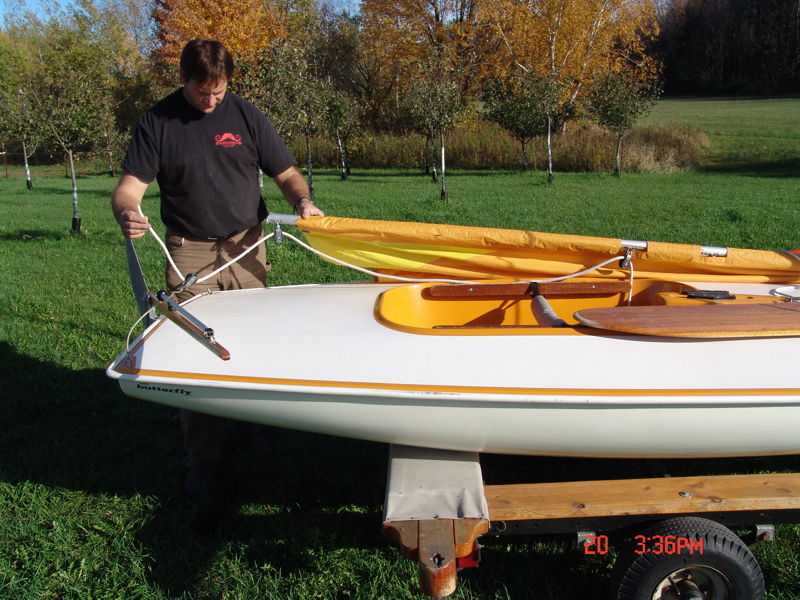
Rigging the Butterfly is easy, but does take a little practice. If you're new to the Butterfly, try rigging and de-rigging the boat a few times in your yard. Once you get the hang of it you'll be able to rig it in around 10-15 minutes.Take a minute to inspect your boat and rigging. If any cables are frayed, ropes chafed, etc. consider replacing them.
Check to make sure the safety spring on the rudder that prevents the rudder from coming off. We have replacement rudder/tiller assemblies in stock and we'd love to sell you one, but we'd rather see you replace an inexpensive safety spring before having to replace an expensive assembly.
Have FUN sailing!